Why Learn How to Use a Map and Compass for Alpinism?
Knowledge Base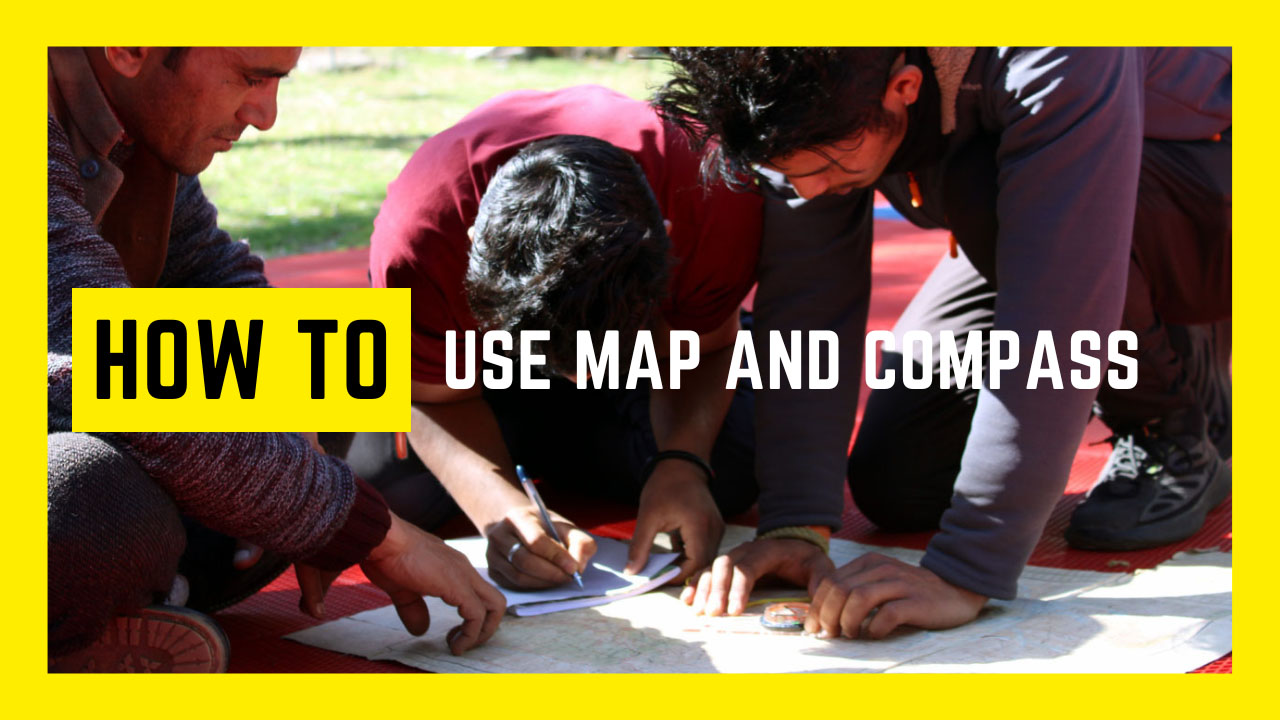
1. To learn how to use a map and compass for alpinism
Alpinism is the practice of climbing mountains. Climbing mountains requires the knowledge of using a map and compass. A map and compass help climbers find their way around the mountain and navigate safely.
2. To know where to go
A map and compass help climbers find their way around a mountain. Knowing where they are going is important for safety reasons. If a climber does not know where he or she is going, then they could get lost or injured.
3. To understand the terrain
Climbers need to understand the terrain before they climb. By understanding the terrain, they can avoid dangerous places and choose safe routes.
4. To have fun
When you are learning about maps and compasses, you may want to do some activities outside. You can play games while you learn about these tools.
5. To understand the world
Maps and compasses show us the world. When we look at a map, we can see what countries are near each other. We can also see where different cities are located.
6. To save time
If you are planning a trip somewhere, you might want to use a map and a compass to make sure you don’t miss anything. You can plan and make sure you don’t forget something.
7. To explore
You can use a map and compass to explore new places. You can travel to places you’ve never been to before.
What is a Topo Map?
A topographic map is a representation of the surface features of the Earth’s landmasses. Topography maps show elevation changes over short distances (a few miles) and long distances (hundreds of miles). A topographical map shows the contours of the landscape, including hills, valleys, mountains, rivers, lakes, and any other feature that affects the terrain.
Topographic maps are created using data collected by satellites and ground-based surveys. These data are then processed and converted into digital images that can be viewed on computer screens or printed out.
Topographic maps have many uses. They are used by geologists, engineers, surveyors, farmers, hikers, and others who need information about the physical environment.
The term topographic comes from the Greek word topos meaning place.
What is a Compass?
A compass is a device that helps you find the north. A compass consists of two parts: a magnetized needle and a housing. When you hold the compass over a magnetic object, the needle aligns itself with the North Pole. If you place the compass over a non-magnetic object, the needle points to true north.
The Needle
The needle is what senses the direction of the earth’s magnetic field. There are three different types of needles: bar magnets, ceramic, and plastic. Bar magnets have iron filings inside them, which makes them strong enough to point to the North Pole. Ceramic needles use a ceramic material that is similar to how a lodestone works. Plastic needles use a plastic material that is similar to the way a compass card works.
The Housing
The housing contains the mechanism that moves the needle around. Most compasses have a dial that turns the needle around. Other compasses use a slide rule style mechanism where the needle slides back and forth.
How to Read a Map for Alpinism
1. Know Your Route
The first thing to do before heading out on any alpine adventure is to know where you’re going. You need to have a good idea of what route you want to take, how long it’s going to take, and if you’ll be able to make it back home. If you don’t have a map, then get one! There are many different types of maps, depending on the type of terrain you plan to traverse. A topographic map is great for hiking, while a contour map is best for climbing mountains.
2. Know Where You Are
Once you’ve got your map, you should look at the area around you. Is there anything blocking your view? Do you see any obstacles in front of you? Make sure to note these things down on your map.
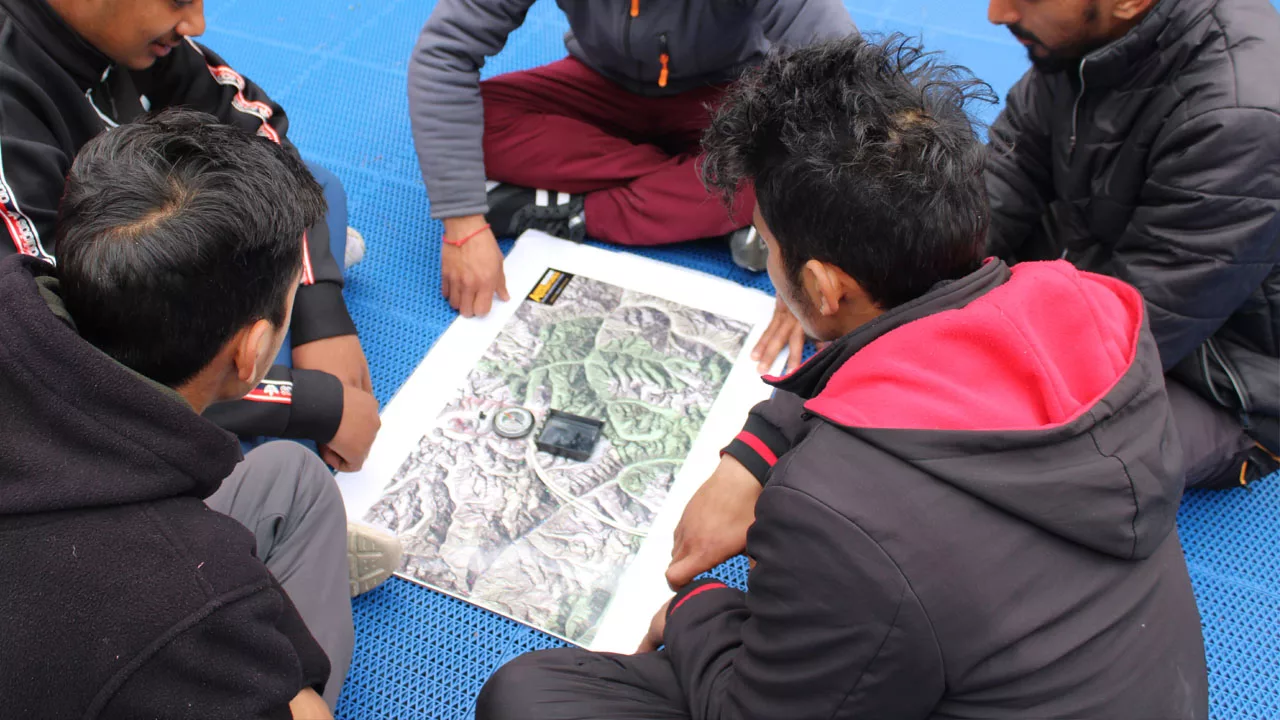
3. Get a Compass
A compass is a tool that helps you orient yourself to the earth’s magnetic field. Once you find a landmark, use your compass to determine which direction it is pointing. Then, follow the line of the needle until you reach your destination.
4. Watch Out for Snow
Snow is a tricky thing to deal with, especially in the winter months. When snow falls, it creates a layer of insulation between the ground and the air. This makes it harder for you to feel the temperature change. To stay safe, wear layers of clothing that keep you warm and allow you to regulate your body temperature. Also, bring extra food and water, just in case you get stranded somewhere.
5. Don’t Go Alone
When you go on an alpine trip, you may not always be accompanied by someone else. That doesn’t mean you shouldn’t be careful. Always tell someone where you’re going and when you expect to return. If something happens to you, they’ll be able to help search for you.
6. Bring Extra Clothes
If you’re planning on spending time outside, you might want to pack some extra clothes. Depending on the season, you could be wearing shorts in the summer and a coat in the winter. Bring enough clothes to last you throughout the entire trip.
7. Stay Hydrated
You should drink plenty of water throughout the day. Not only does it keep you cool, but it keeps you alert and focused. Drink about half of your body weight in ounces each day.
How to Use a Compass for Alpinism
A compass is a tool that helps you find the north. In alpine climbing, we use compasses to help us navigate our way up mountains. A compass is a great tool for any climber who wants to get off the trail and explore the backcountry. Here’s how to use a compass for alpinism.
1. Find North
The first thing you need to do is find the north. To do this, you’ll need to know where you are located. You can use a map or GPS device to determine your location. Once you have determined your location, look at the direction you’re facing. If you’re looking down, then you’re south of north. If you’re looking east, then you’re west of north. If you are looking north, then you are north of north.
2. Determine Your Bearing
Once you’ve determined where north is, you’ll want to figure out what bearing you’re facing. Bearings are measured clockwise or counterclockwise from true north. True north is the point directly above the North Pole. When you’re standing still, you should face due north. If you’re walking, you should face due east or west.
3. Determine Your Direction
Now that you know what bearing you’re facing, you’ll want to determine which direction you’re going. If you’re heading north, then you’re traveling toward the North Pole. If you’re heading south, then you’re traveling away from the North Pole. If your bearing is 0 degrees (facing east), then you’re traveling straight ahead. If your bearing is 90 degrees (facing due west), then you’re traveling 45 degrees left.
4. Calculate Your Distance
To calculate your distance, you’ll need to multiply your bearing times by 360 degrees. So if you’re facing due east, your bearing is 180 degrees, and your distance is 1 degree x 360 360 degrees. If you’re facing due west, your bearing is 270 degrees, and your distance would be 2 degrees x 360 720 degrees.
5. Plot Your Way
Plotting your route is the last step before you head out. Make sure you plot your path using a compass. If you don’t have a compass, you can use a protractor.
Enroll in a Map Reading Course:
Recommended for You:
Table of Content:
