5 Emergency Signals Every Mountaineer Should Know
Blogs
Essential Communication for Survival in the Mountains
When you’re climbing in the Indian Himalayas—be it the Pin Parvati Pass, Beas Kund lake trek, or a remote alpine summit—communication can be a matter of survival. In the event of injury, getting lost, or encountering extreme weather, every mountaineer must know how to signal for help even without mobile reception.
This blog covers 5 essential emergency signals every mountaineer, trekker, and outdoor enthusiast should learn before venturing into the high mountains.
Why Emergency Signals Matter in the Mountains
The higher you climb, the more isolated you become. Weather can change rapidly, communication devices may fail, and in certain regions of the Indian Himalayas, there is no mobile or radio network.
That’s why knowing universal distress signals—visual, auditory, or gesture-based—can make the difference between rescue and risk.
Whether you’re a beginner or a certified climber, these are skills every mountaineer should master.
5 Emergency Signals Every Mountaineer Should Know
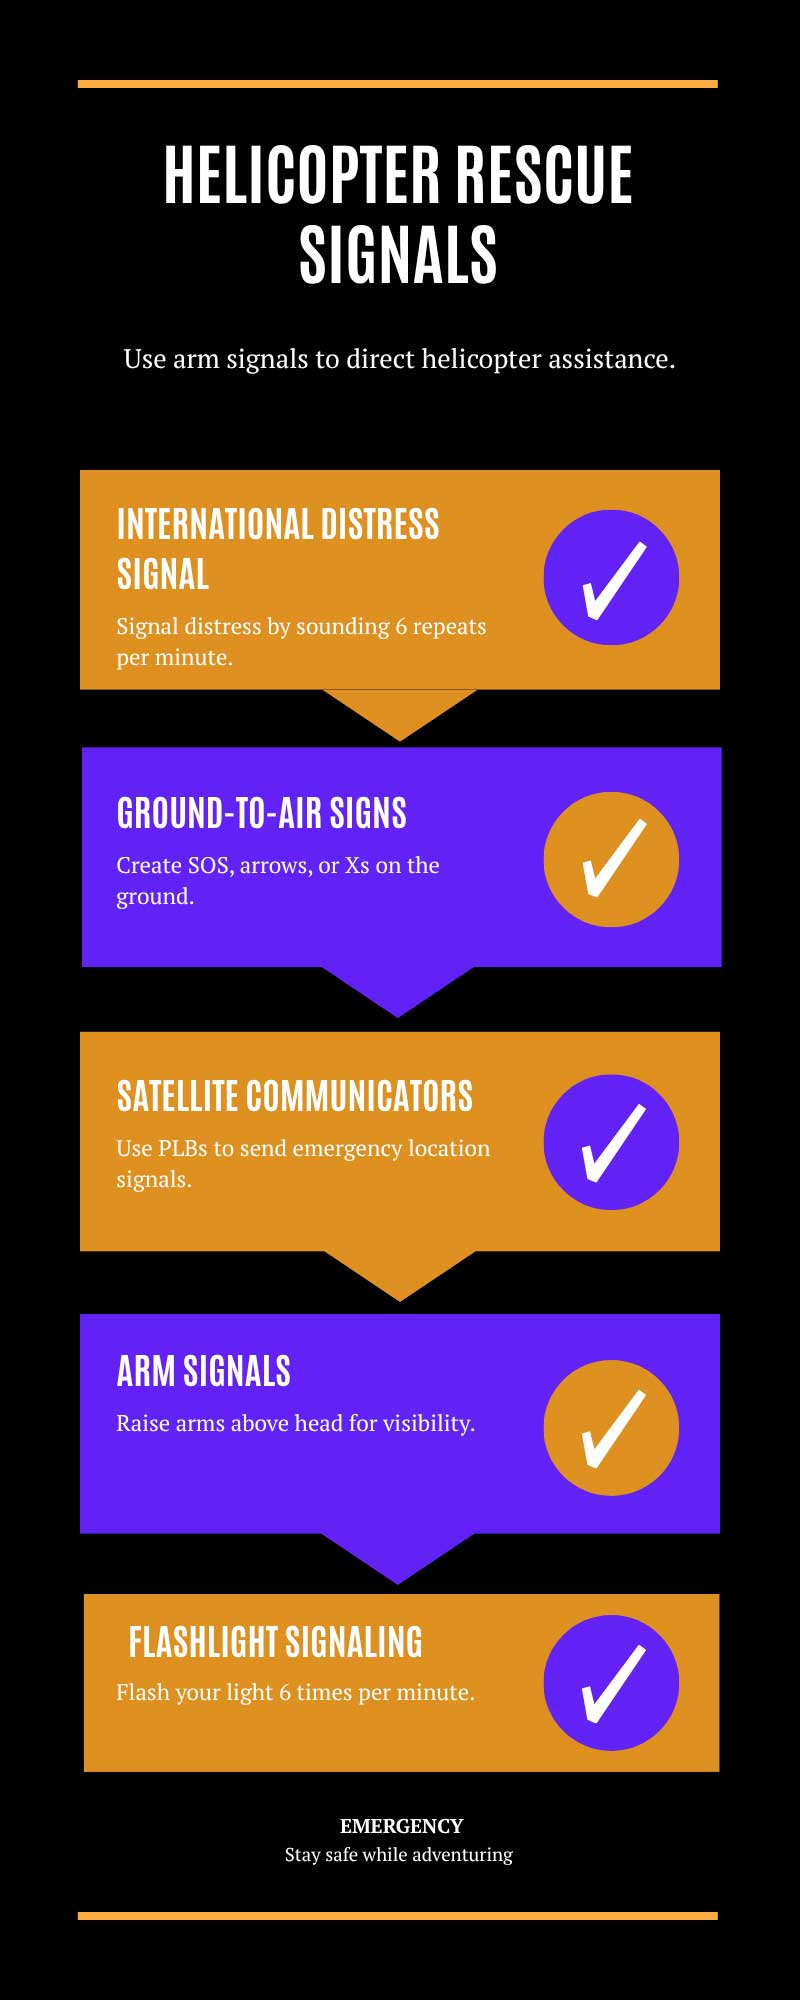
1. The International Distress Signal – 6 Repeats Per Minute
What it is:
Call, whistle, or flash a light six times in a minute, pause for one minute, and repeat. This is the universal distress pattern used worldwide.
When to use it:
When you’re lost, injured, or in any situation requiring rescue.
Response signal:
If someone hears or sees your signal, they should respond with three signals per minute.
Tip: Practice using your whistle and headlamp for this pattern in low-light or foggy conditions.
2. Arm Signals for Helicopter Rescue
What it is:
Rescuers in helicopters look for visual cues. Two common signals include:
- “YES, I need help” – Stand upright and raise both arms straight up into a “Y” shape.
- “NO, I don’t need help” – Stand upright with one arm up and one arm down, forming an “N”.
When to use it:
During helicopter flyovers or aerial surveys, especially on glaciers or exposed ridges.
Tip: Wear bright clothing or use your sleeping mat to increase visibility from the air.
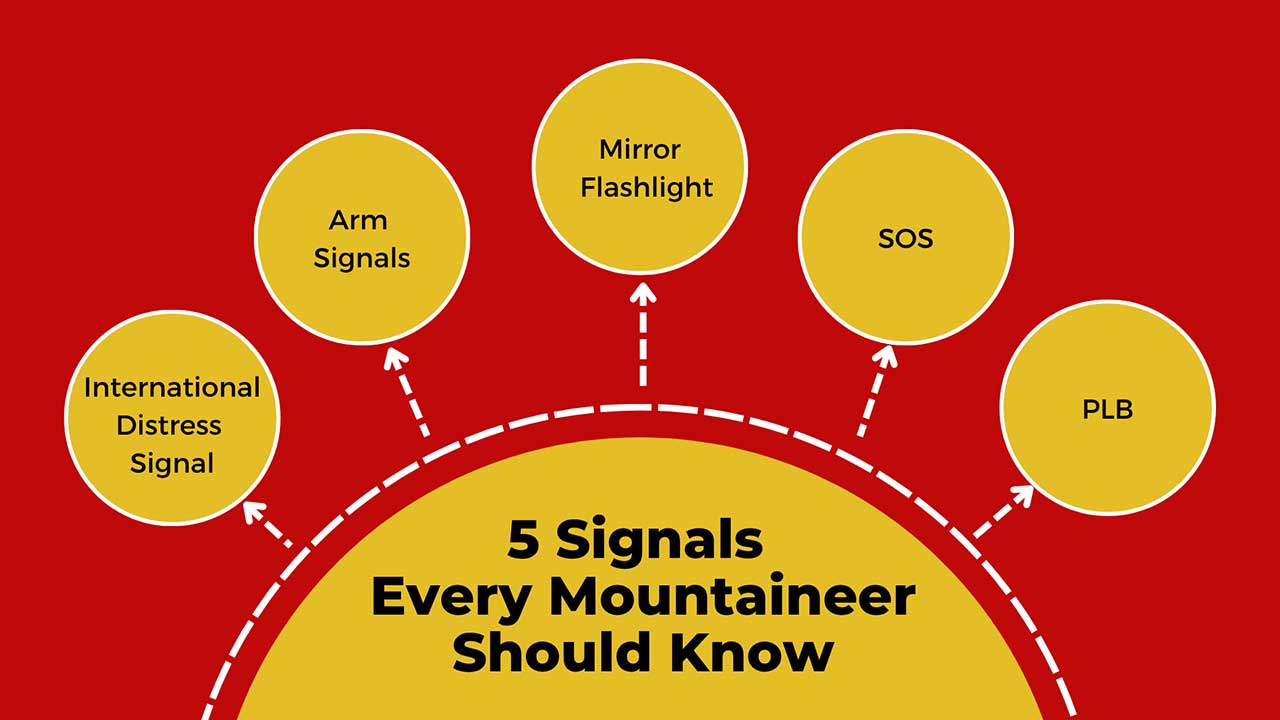
3. Mirror or Flashlight Signaling
What it is:
Use a signal mirror (or any shiny object) to reflect sunlight toward rescuers. Alternatively, flash your headlamp rhythmically (preferably in the 6-flash pattern).
When to use it:
On sunny days or dark nights, when you’re visible from a distance but cannot shout or move.
Pro Tip:
Signal mirrors can be seen up to 20 miles away in clear weather. Always carry one in your kit.
4. Ground-to-Air Visual Signs (SOS, Arrows, Xs)
What it is:
Create visible signals using rocks, branches, sleeping bags, or snow:
- SOS – The universal distress code
- Arrow (→) – Indicates direction of movement or help
- Large “X” – Indicates someone is injured or needs help
When to use it:
If you’re stationary or awaiting rescue and need to attract aerial attention.
Tip: Letters should be at least 3 meters wide to be seen from the air.
5. Satellite Communicators / Personal Locator Beacons (PLBs)
What it is:
Devices like the Garmin InReach or SPOT Messenger send GPS-based SOS alerts with your location to emergency responders—even when out of cellular range.
When to use it:
Any time you’re in remote areas like the Zanskar, Lahaul, or Kashmir Himalayas, especially during solo treks or alpine-style climbs.
Tip: At Ascent Descent Adventures, we recommend PLBs for expeditions above 4,000 meters, especially in non-tourist routes.
Bonus: Signal Priorities in Emergency
- Stay calm and assess your surroundings.
- Make yourself visible: Use bright colors or lay gear in open areas.
- Use the 6-flash or 6-whistle signal consistently.
- Repeat the pattern until help arrives or response is seen.
- Conserve energy while waiting—don’t exhaust yourself shouting.
Train for the Unexpected
At Ascent Descent Adventures, our Mountain Skills, High Altitude Survival, and Technical Climbing Courses include real-world training in emergency signaling, self-rescue, and decision-making.
We train ambitious hikers and mountaineers for adventures. Join one of our rescue trainings:
- Rescue Emergency Care First Aid Course
- Mountain Rescue
- Avalanche Skills Training
- Rock Rescue Training
- Crevasse Rescue
- Mountaineering Courses
Knowledge is your best safety gear. Don’t go unprepared.
Final Thought
In the mountains, nature doesn’t always give second chances. The ability to signal for help effectively is just as important as physical fitness, gear, and acclimatization. Whether you’re on a popular trail or a remote summit, always be prepared to communicate clearly and efficiently in case of an emergency.
Recommended Read for Safety & Risk Awareness:
- 5 Red Flags to Watch for During Your First Expedition
- 5 Common Accidents Beginners Face (and How to Avoid Them)
- 5 Signs You Might Be Getting Altitude Sickness
- 5 Situations Where Turning Back is the Smartest Option
Table of Content:
